Discovering a crack, a yellowed section, or a hole in your polycarbonate roof, skylight, or wall panel can be a real headache. Whether it’s from a severe hailstorm, a fallen branch, or years of UV exposure taking its toll, damaged panels compromise more than just aesthetics. They threaten the weathertight integrity of your structure, can lead to water damage and mold, and reduce insulation efficiency. The good news is that with the right approach, replacing a damaged polycarbonate panel is a manageable project that can restore full functionality and protection. This guide, drawn from professional field experience, will walk you through the entire process from diagnosis to a flawless, long-lasting installation.
Assessing the Damage and Planning Your Replacement
Before you grab your tools, take a moment to thoroughly assess the situation. Not all damage requires a full panel replacement. Small surface scratches often don’t affect structural integrity. However, cracks that penetrate the full thickness, holes, severe yellowing or hazing that blocks light, and de-lamination in multi-wall sheets are clear signs you need a new panel. Identify the exact type of polycarbonate you have. Is it solid sheet, twin-wall, or a more complex multi-wall profile? Measure the thickness. Note the brand if possible, as profiles can vary between manufacturers. Also, inspect the supporting structure—the aluminum or steel framing. Look for corrosion, warping, or damage to the fasteners. Addressing frame issues during replacement is crucial for a successful, long-term fix. This planning phase is where you decide if it’s a DIY job or if you need to call in professionals, especially for large panels or hard-to-reach areas like high roofs.

Safe Removal of the Damaged Panel
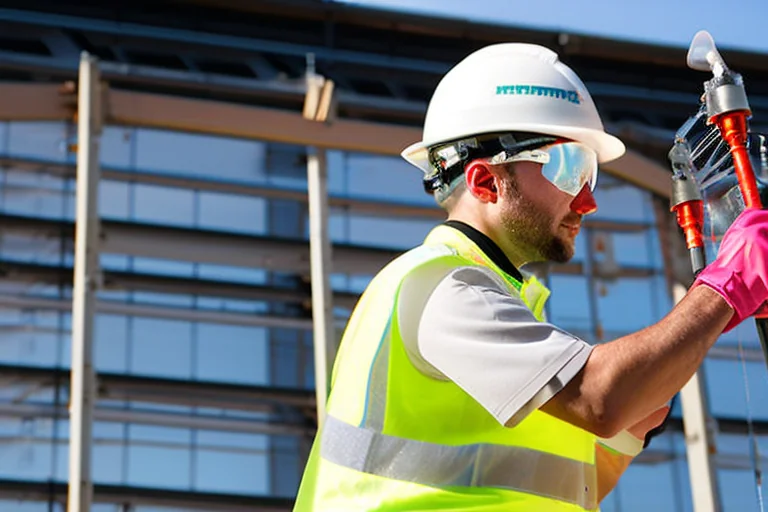
Safety is paramount. Wear cut-resistant gloves, safety glasses, and secure footing. Polycarbonate, even when cracked, can have sharp edges. Begin by removing the end caps, ridge caps, or any perimeter trim holding the panel in place. These are usually secured with screws. Next, carefully remove the fasteners—typically self-drilling screws with neoprene or EPDM washers. Work systematically from one end to the other. Avoid prying or using excessive force, as this can bend the frame channels. If the panel is stuck due to old sealant or dirt, use a utility knife to carefully score along the frame interface. Once all fasteners are out, gently lift the panel out of the channel. For large panels, have a helper. This is a good time to clean out the frame channels thoroughly, removing old sealant, debris, and insect nests to ensure a clean seat for the new panel.
Taking Accurate Measurements and Sourcing the Correct Panel
This is the most critical step to avoid costly mistakes. Never assume the old panel’s dimensions are the exact size you need to order. Frames can shift, and panels are often cut to a custom fit. Measure the length and width of the opening in the frame at multiple points. For multi-wall panels, you must also note the direction of the channels (they must run vertically for proper condensation drainage) and which side has the UV-protective coating. The coated side always faces the sun. Order your replacement panel with the exact thickness and profile. If an exact match is unavailable, consult with a supplier; sometimes a compatible profile from a different manufacturer can work. Consider upgrading to a panel with better features, like higher impact resistance or improved thermal insulation. For specialized applications, exploring options like advanced insulation sheets with honeycomb structures can provide superior performance for the long term.
Step-by-Step Installation of the New Panel
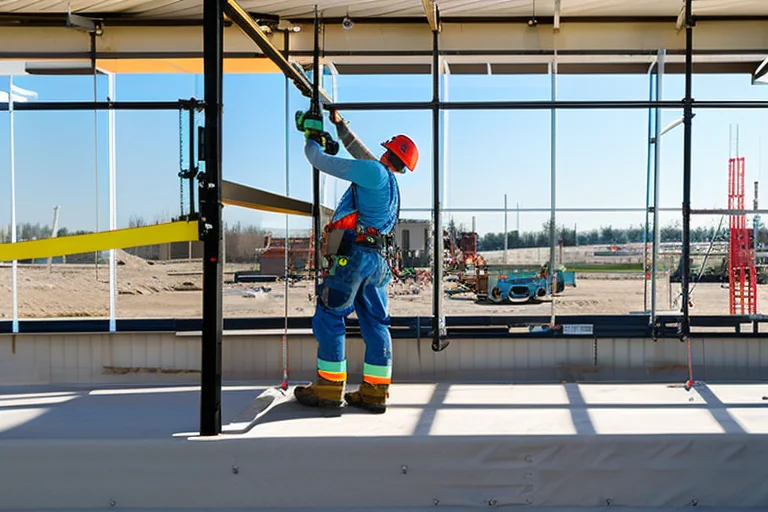
Now for the rewarding part: the installation. First, prepare the new panel. If it’s multi-wall, you must seal the top end with special aluminum or butyl tape to prevent water and dirt ingress. The bottom end gets a breathable tape that allows condensation to escape while keeping bugs out. Never seal both ends. Apply the tapes firmly, ensuring no channels are blocked. Dry-fit the panel into the frame to check the fit, remembering to account for thermal expansion—polycarbonate expands and contracts with temperature changes. Leave a gap (typically 3-5mm per meter of length) at the ends and sides as recommended by the manufacturer. Once satisfied, place the panel into the frame with the UV-coated side facing outward. Start fastening in the center of the panel and work your way outwards towards the edges, screwing into the center of the frame purlins. This prevents buckling. Do not over-tighten the screws; the washer should seal snugly against the panel without deforming it.
Sealing, Finishing, and Final Inspection
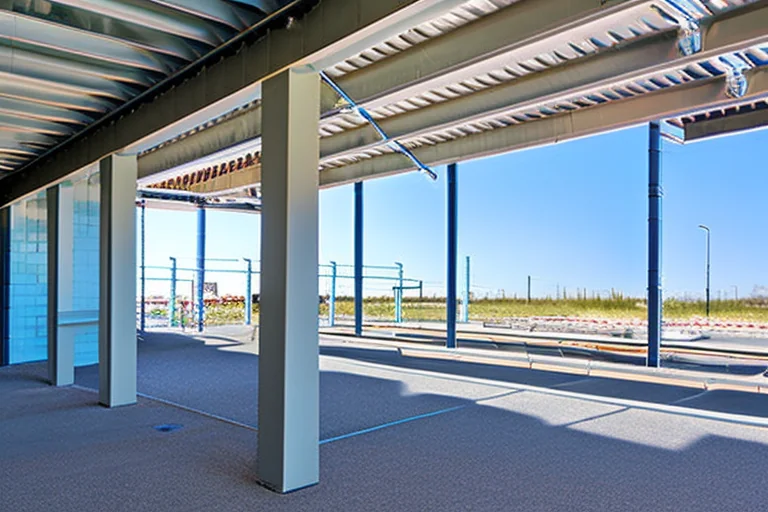
Proper sealing is what separates a professional job from a leaky one. After all fasteners are in place, install the new end caps, ridge caps, and perimeter flashings. Use a high-quality, polycarbonate-compatible silicone sealant (never use acrylic or PVC-based sealants as they can damage the material) at all overlaps and joints. Apply it neatly and sparingly. Once everything is assembled, conduct a thorough final inspection. Check that all fasteners are tight, all seals are complete, and the panel sits flush without stress points. Look for any visible gaps. It’s advisable to wait for a rain shower or simulate one with a hose to test for leaks before considering the job complete. A successful replacement not only fixes the immediate problem but restores the full protective and insulating value of your structure. For complex projects like large canopies, reviewing a comprehensive resource such as The Ultimate Guide to Durable and Efficient Polycarbonate Car Park & Canopy Shade Solutions can provide additional insights into system design and longevity.
Post-Installation Care and Maintenance Tips
Your new panel will last for years with proper care. For cleaning, use only mild soap (like dish soap) and lukewarm water with a soft cloth or sponge. Never use abrasive cleaners, solvents, or sharp tools. Rinse thoroughly. While polycarbonate is highly impact-resistant, avoid direct pressure from ladders or heavy objects. Periodically inspect the seals and fasteners, especially after extreme weather events. Re-tighten any loose screws and reapply sealant if you notice minor cracking. Keeping the surface clean not only looks better but also maintains optimal light transmission. By following these steps—meticulous assessment, careful removal, precise measurement, proper installation, and routine maintenance—you can confidently tackle polycarbonate panel replacement and ensure your structure remains secure, dry, and efficient for the long haul.
Don’t let a damaged panel compromise your building’s envelope. Whether you’re planning a DIY repair or seeking professional assurance, having the right materials and knowledge is key. View our full product catalog to find the exact replacement panel you need, from standard multi-wall to high-performance solid sheets. For expert guidance and installation services you can trust, contact our polycarbonate experts today. We’re here to help you restore and protect your investment with durable, reliable solutions.