Successful polycarbonate installation requires more than just basic construction skills – it demands understanding of the material’s unique properties and how they affect installation techniques. Unlike traditional building materials, polycarbonate expands and contracts significantly with temperature changes, requires specific fastening methods, and has particular sealing requirements that can make or break a project’s long-term success.
This comprehensive guide provides the professional-level knowledge and techniques needed to achieve installations that not only look great initially but continue to perform flawlessly for decades. Whether you’re a contractor taking on your first polycarbonate project or an experienced installer looking to refine your techniques, this guide covers everything you need to know.
Pre-Installation Planning and Preparation
Material Storage and Handling
Proper material handling begins the moment polycarbonate panels arrive on your job site. These panels are more flexible than glass but require careful handling to prevent damage and ensure optimal performance.
Store panels flat on a level surface with adequate support every 2-3 feet to prevent sagging. Never lean panels against walls or stack them without proper separation. If outdoor storage is necessary, protect panels from direct sunlight and ensure adequate ventilation to prevent overheating.
Critical Handling Guidelines:
- Always remove protective film only immediately before installation
- Handle panels by the edges, never the center of large panels
- Use proper lifting techniques for panels larger than 4×8 feet
- Protect cut edges immediately to prevent moisture infiltration
- Avoid dragging panels across rough surfaces
Tools and Equipment Requirements
Professional polycarbonate installation requires specific tools designed for the material’s unique properties. Standard construction tools may not provide the precision and care needed for optimal results.
Essential Tool Checklist:
- Cutting Tools: Fine-tooth circular saw, jigsaw with fine blade, utility knife
- Drilling Equipment: Variable-speed drill, specialized polycarbonate drill bits
- Measuring Tools: Laser measure, steel rulers, expansion calculators
- Sealing Materials: Compatible glazing tape, structural sealants, weatherstripping
- Fasteners: Self-drilling screws with EPDM washers, expansion washers
- Safety Equipment: Safety glasses, gloves, fall protection gear
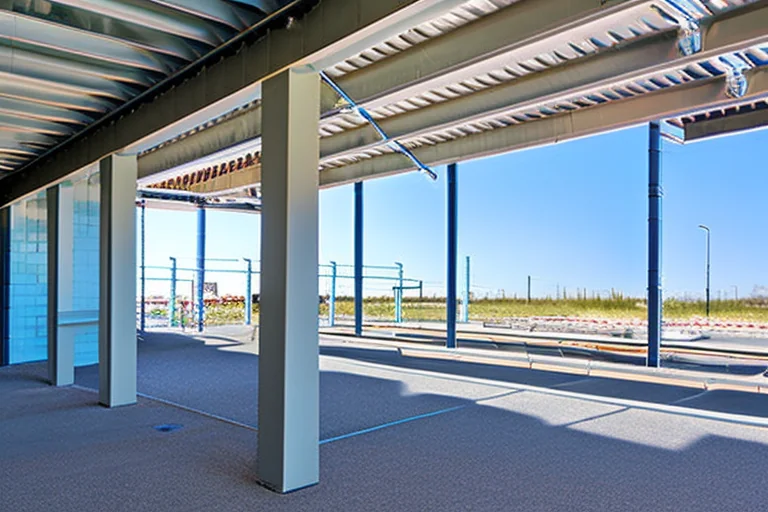
Structural Assessment and Preparation
Before installation begins, thoroughly assess the supporting structure to ensure it can accommodate polycarbonate’s specific requirements. The structure must support not only the panel weight but also wind loads, snow loads, and thermal movement.
Polycarbonate’s lighter weight compared to glass means that structural requirements are often less demanding, but proper spacing and support remain critical for long-term performance. Verify that all structural members are level, plumb, and properly aligned before beginning panel installation.
Understanding and Managing Thermal Expansion
Expansion Calculations
Polycarbonate has a significantly higher coefficient of thermal expansion than most building materials. A 10-foot panel can expand or contract by up to 1/4 inch over typical temperature ranges, making proper expansion accommodation crucial for preventing buckling, stress cracking, or seal failure.
Thermal Expansion Formula:
Total Expansion = Length × Temperature Change × 0.065mm/m/°C
For a 3-meter panel with a 40°C temperature swing: 3m × 40°C × 0.065 = 7.8mm expansion
This calculation must be performed for each panel dimension and incorporated into the fastening pattern and sealing design. Failing to account for thermal movement is one of the most common causes of polycarbonate installation failure.
Expansion Joint Design
For installations spanning more than 20 feet, expansion joints become necessary to accommodate cumulative thermal movement. These joints must be carefully designed to maintain weather sealing while allowing free movement.
Expansion joints should be located at logical architectural breaks and designed with weatherproof sealing systems that can accommodate the calculated movement. The joint design must also consider the direction of thermal movement – panels expand and contract in all directions, not just lengthwise.
Professional Fastening Techniques
Fastener Selection and Spacing
Proper fastener selection is critical for both structural integrity and long-term performance. Standard construction fasteners are often inappropriate for polycarbonate due to thermal movement requirements and material compatibility issues.
Self-drilling screws with EPDM washers are typically the best choice for most applications. These fasteners create clean holes without cracking while providing weather-tight seals that accommodate thermal movement. The washer material must be compatible with polycarbonate to prevent chemical stress cracking.
Fastener Spacing Guidelines:
- Panel Edges: Maximum 12 inches on center
- Intermediate Supports: Maximum 24 inches on center
- High Wind Areas: Reduce spacing by 25-30%
- Snow Load Areas: Increase fastener density at supports
- Thermal Expansion Zones: Use slotted holes where appropriate
Drilling Techniques
Drilling polycarbonate requires specific techniques to prevent cracking, melting, or other damage. The drill speed, bit type, and drilling technique all affect the quality of the finished hole and the long-term performance of the fastener connection.
Use sharp drill bits specifically designed for polycarbonate, and maintain moderate drilling speeds to prevent heat buildup. Always drill slightly oversize holes to accommodate thermal expansion, and deburr all holes immediately after drilling to prevent stress concentrations.
Fastener Installation
When installing fasteners, avoid overtightening, which can cause stress concentrations and premature failure. The fastener should be snug but allow for thermal movement. Use a torque-limiting drill or hand-tighten fasteners to ensure consistent installation.
Install washers with the smooth side against the polycarbonate surface to prevent scratching and ensure even load distribution. Check that all fasteners are properly seated and that washers are not compressed beyond their design limits.
Sealing and Weatherproofing
Sealant Selection
Not all sealants are compatible with polycarbonate. Silicone-based sealants can cause stress cracking and should never be used in direct contact with polycarbonate panels. Instead, use sealants specifically formulated for polycarbonate compatibility.
Structural glazing tapes often provide superior performance compared to liquid sealants, offering consistent thickness, excellent adhesion, and proven long-term durability. These tapes are pre-formed to precise dimensions and eliminate the variability inherent in field-applied liquid sealants.
Recommended Sealing Materials:
- Structural Glazing Tape: Primary choice for most applications
- Polysulfide Sealants: Excellent for high-movement joints
- Polyurethane Sealants: Good all-around performance
- EPDM Gaskets: Ideal for compression sealing applications
- Butyl Tape: Temporary sealing during installation
Application Techniques
Proper sealant application requires clean, dry surfaces and appropriate environmental conditions. Surface preparation is critical – any contamination, moisture, or residue can compromise seal performance and longevity.
Apply sealants in continuous beads without gaps or air bubbles. Tool the sealant to ensure proper contact with both surfaces and to create the appropriate profile for weather resistance. Allow adequate cure time before exposing seals to weather conditions.
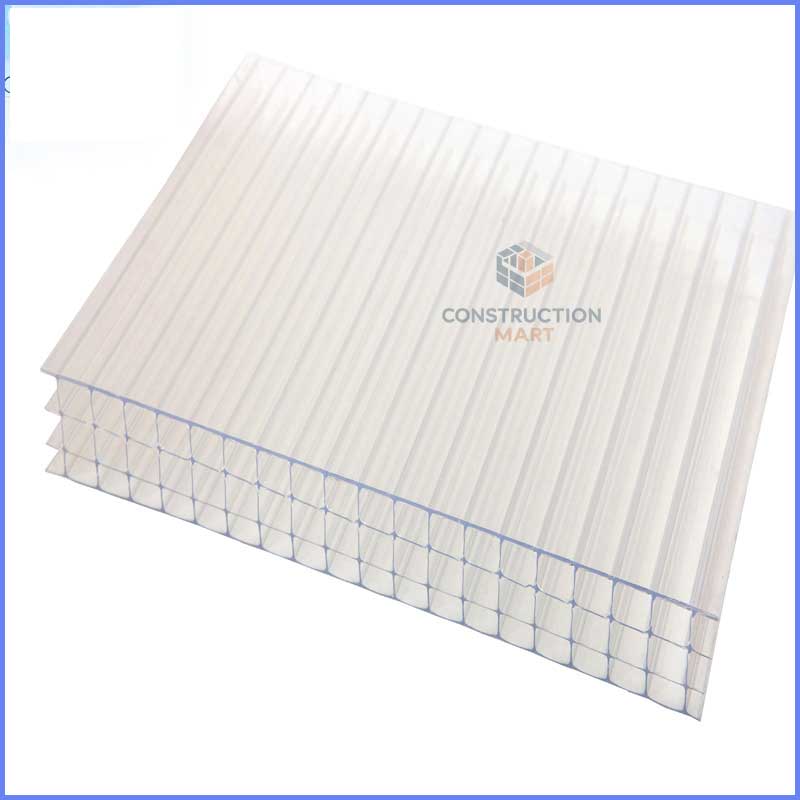
Edge Sealing for Multi-Wall Panels
Multi-wall polycarbonate panels require special attention to edge sealing to prevent moisture infiltration into the internal channels. Moisture in these channels can lead to algae growth, reduced light transmission, and structural degradation.
Seal all cut edges immediately after cutting using appropriate edge sealing tape or sealant. The bottom edges should allow for drainage while preventing insect infiltration, while top edges must be completely sealed against moisture entry.
Cutting and Fabrication Best Practices
Cutting Techniques
Clean, accurate cuts are essential for professional-looking installations and proper fit. The cutting method depends on panel thickness, type, and the precision required for the specific application.
For straight cuts, a fine-tooth circular saw provides the best results. Use a blade with at least 10-14 teeth per inch and maintain steady feed rates to prevent melting. For curved cuts, a jigsaw with a fine metal-cutting blade works well, though cutting speed should be reduced to prevent heat buildup.
Cutting Best Practices:
- Always cut with protective film in place to prevent scratching
- Support panels adequately to prevent vibration during cutting
- Use sharp blades and replace them frequently
- Cut slightly oversize and trim to final dimension
- Seal all cut edges immediately after cutting
- Remove all cutting debris before installation
Hole Cutting and Penetrations
Penetrations for fasteners, utilities, or other building components require careful planning and execution. Large holes should be cut with hole saws or step drills to ensure clean, round openings.
All penetrations must include appropriate sealing to prevent water infiltration. Use compatible sealants or gaskets designed for the specific application, and ensure that thermal movement is accommodated in the seal design.
Custom Fabrication Considerations
Complex installations may require custom fabrication of panels or components. When fabricating custom pieces, maintain the same quality standards as factory-produced panels, including proper edge sealing and UV protection of any exposed edges.
Quality Control and Inspection
Installation Checkpoints
Implement systematic quality control checkpoints throughout the installation process to catch and correct issues before they become major problems. Regular inspection prevents small issues from becoming costly repairs.
Critical Inspection Points:
- Pre-Installation: Verify panel condition, dimensions, and structural readiness
- During Installation: Check fastener spacing, hole quality, and alignment
- Sealing Phase: Verify sealant compatibility, coverage, and cure conditions
- Final Inspection: Test all seals, check thermal movement accommodation
- Post-Installation: Document warranty requirements and maintenance procedures
Common Installation Errors
Understanding common installation errors helps prevent problems that can compromise long-term performance. These errors often stem from treating polycarbonate like glass or other traditional glazing materials.
Overtightening fasteners, using incompatible sealants, failing to accommodate thermal expansion, and inadequate edge sealing account for the majority of installation-related failures. Each of these issues is preventable with proper techniques and attention to detail.

Performance Testing
After installation completion, conduct appropriate performance tests to verify that the installation meets design requirements. This may include water testing, thermal cycling, or structural load testing depending on the application.
Document all test results and provide this information to the building owner along with maintenance requirements and warranty information. Proper documentation protects both the installer and the owner in case of future issues.
Safety Considerations and Best Practices
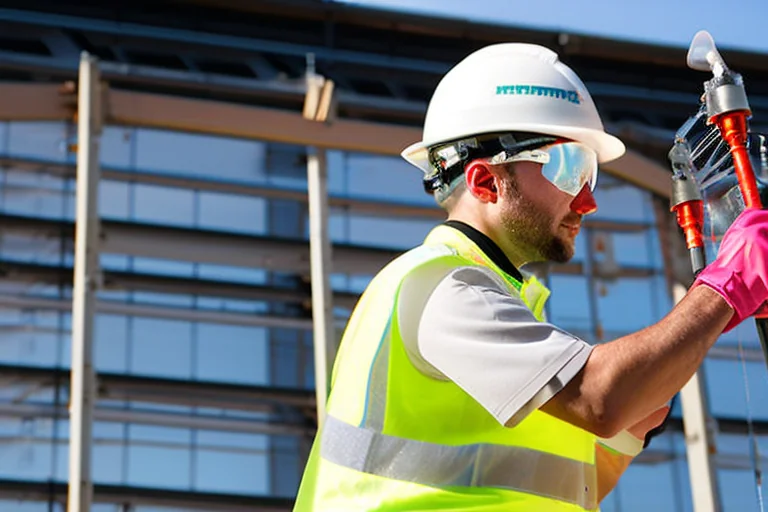
Worker Safety
Polycarbonate installation presents unique safety considerations that differ from glass or other traditional glazing materials. While polycarbonate is much safer to handle due to its impact resistance, proper safety protocols remain essential.
The lighter weight of polycarbonate can actually increase some risks, as panels may be more susceptible to wind uplift during installation. Secure all panels immediately upon placement and never leave large panels unsecured, even temporarily.
Essential Safety Protocols:
- Use appropriate fall protection for all elevated work
- Secure panels against wind uplift during installation
- Wear safety glasses when cutting or drilling
- Use proper lifting techniques for large panels
- Maintain clean, organized work areas to prevent accidents
- Follow lockout/tagout procedures for power tools
Environmental Considerations
Weather conditions significantly affect polycarbonate installation quality and safety. Avoid installation during high winds, precipitation, or extreme temperatures that could affect material properties or worker safety.
Thermal expansion calculations assume installation at moderate temperatures. Installing panels during extreme temperature conditions requires adjustment of expansion allowances to account for the difference between installation and service temperatures.
Troubleshooting Common Issues
Installation Problems and Solutions
Even experienced installers occasionally encounter unexpected issues during polycarbonate installation. Understanding how to identify and resolve these problems quickly prevents minor setbacks from becoming major delays.
Common Issues and Solutions:
- Panel Buckling: Usually caused by inadequate thermal expansion accommodation or overtightened fasteners
- Seal Failure: Often results from incompatible sealants or poor surface preparation
- Stress Cracking: Typically caused by overtightening, poor hole quality, or incompatible materials
- Water Infiltration: Usually indicates inadequate sealing or thermal movement problems
- Noise Issues: Can result from inadequate fastening or thermal movement restrictions
Emergency Repairs
Occasionally, installations may require emergency repairs due to weather damage, installation errors, or unforeseen circumstances. Having procedures and materials ready for emergency repairs prevents minor issues from becoming major problems.
Keep emergency repair materials on hand, including compatible sealants, fasteners, and small pieces of matching polycarbonate. Document all emergency repairs and follow up with permanent solutions as soon as conditions permit.
Achieving Installation Excellence
Professional polycarbonate installation is both an art and a science, requiring technical knowledge, attention to detail, and respect for the material’s unique properties. The techniques and principles outlined in this guide provide the foundation for installations that will perform flawlessly for decades.
Remember that polycarbonate installation is fundamentally different from glass installation. The material’s thermal movement characteristics, lighter weight, and different mechanical properties require adapted techniques and specialized knowledge. Installers who understand and respect these differences consistently achieve superior results.
Invest time in proper planning, use appropriate tools and materials, and never compromise on quality for the sake of speed. The extra effort invested in following proper installation procedures pays dividends in long-term performance, customer satisfaction, and professional reputation.
As polycarbonate technology continues to evolve with new formulations, surface treatments, and applications, the fundamental installation principles remain constant: respect for the material’s properties, attention to detail, and commitment to quality workmanship. Masters of these principles will find polycarbonate installation to be both rewarding and profitable as demand for this versatile material continues to grow.